|
|
Post by Deleted on Dec 21, 2013 16:13:08 GMT -8
I started working on a campground for my campers and RV's today and here are a few pictures of the progress thus far. I started out with a 2' x 2' section on a 2' x 4' section of Styrofoam House Insulation Sheet. I had painted it green but was not real happy with the color. 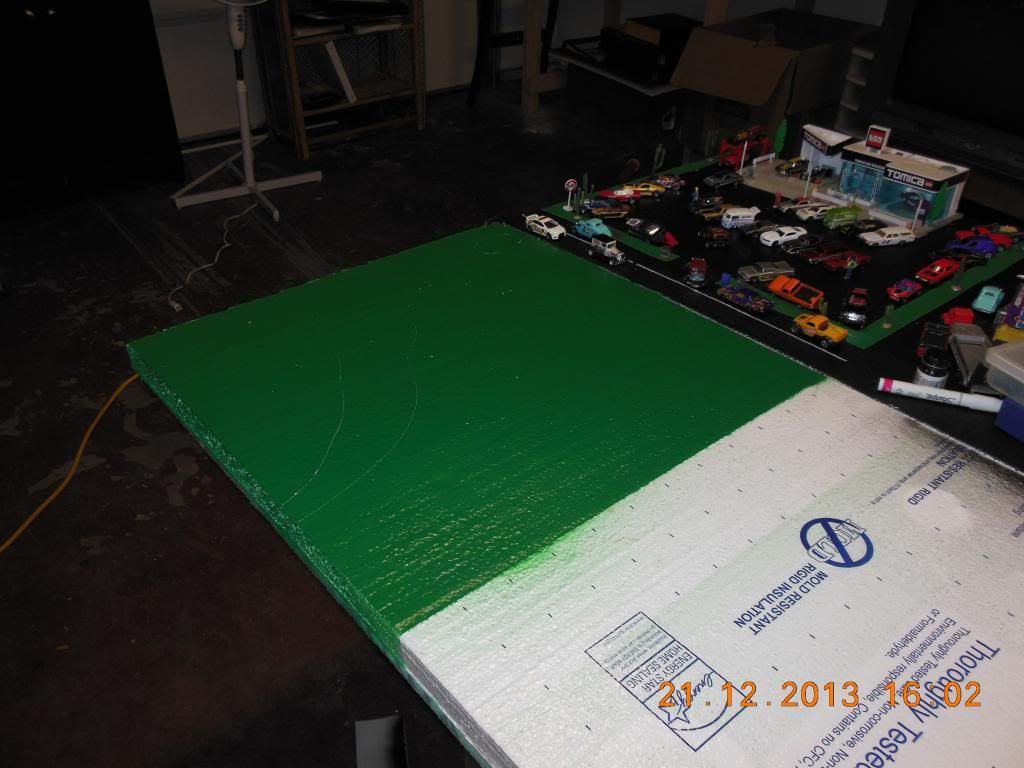 |
|
|
|
Post by Deleted on Dec 21, 2013 16:18:24 GMT -8
I went to the Hobby Store, HobbyTown USA, and bought a couple rolls of scenery material. Here is the material I used for the main part of the campground. 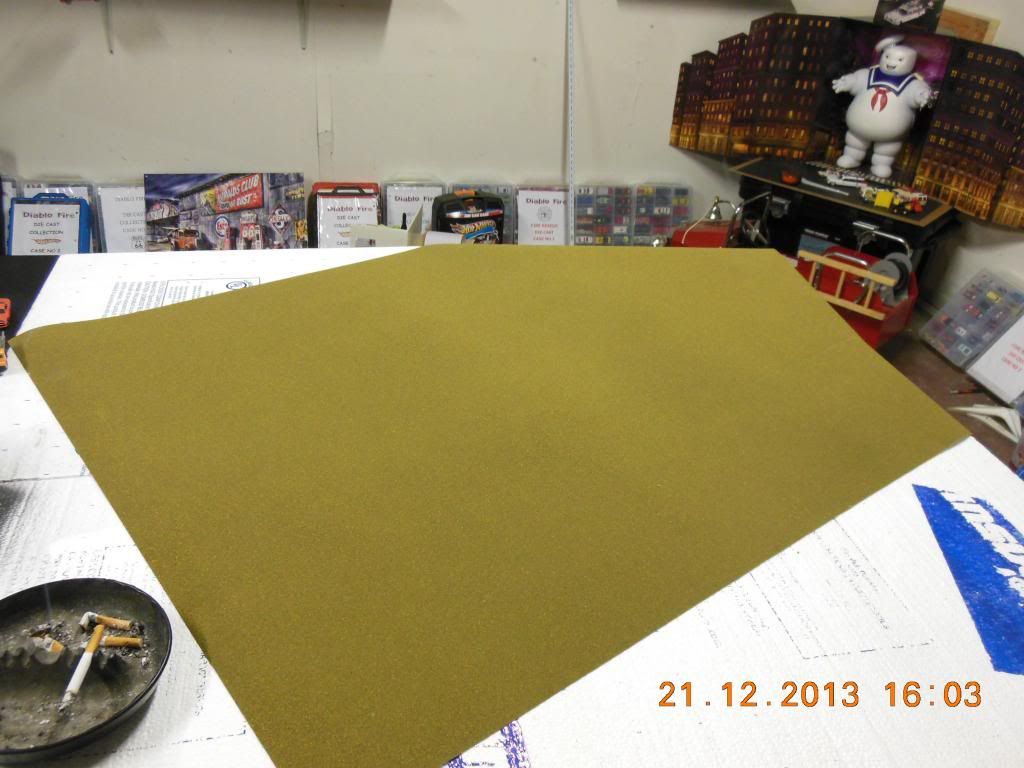 Next I measured it and cut it to fit the 2' x 2' section. I used me drywall square to use the width as a guide for the roads. 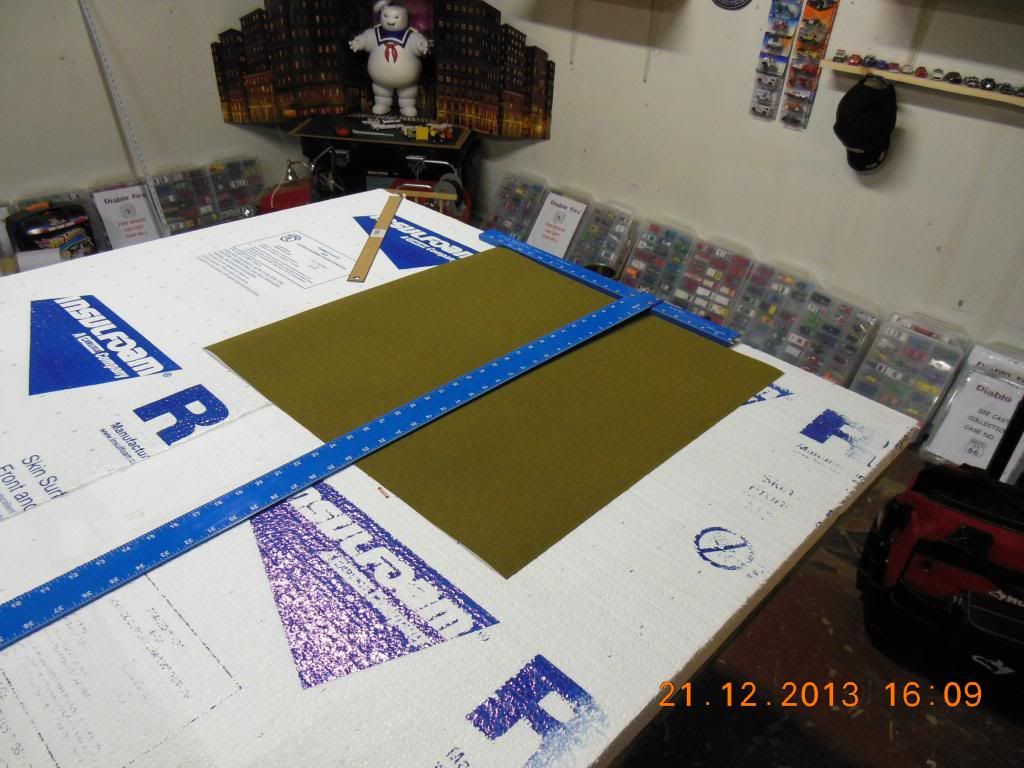 I laid out the roads on the back of the mat. 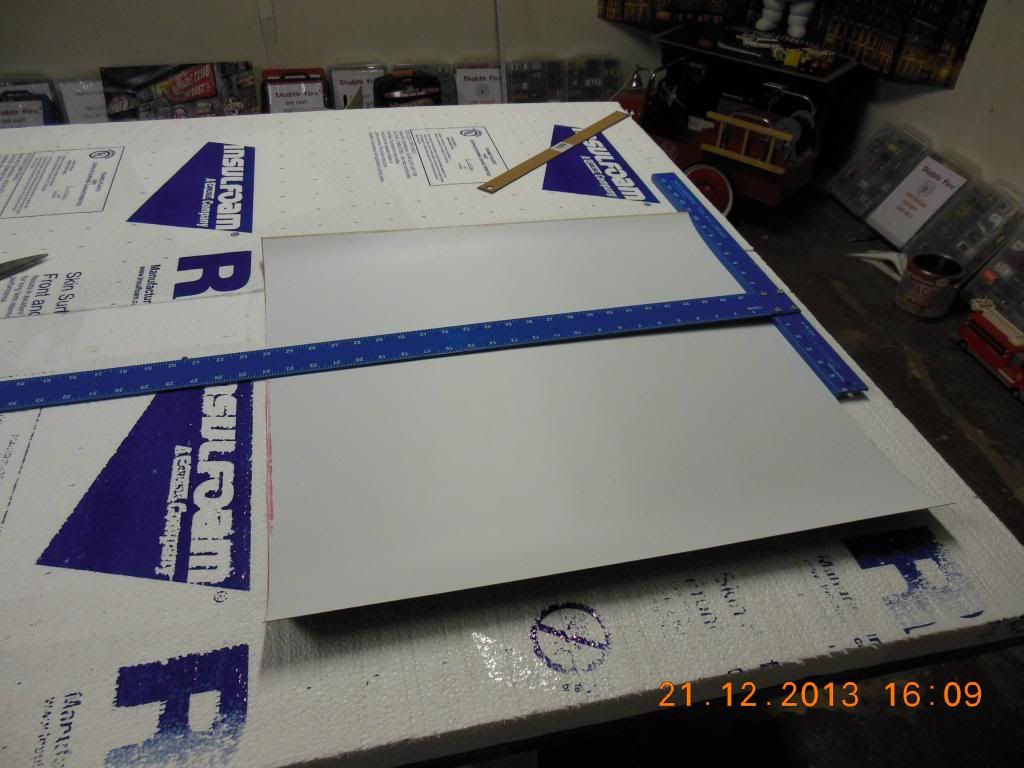 |
|
|
|
Post by Deleted on Dec 21, 2013 16:36:56 GMT -8
Next came cutting out the pieces of the mat that would eventually be laid out as the campground portion of the display. Here they are cut out 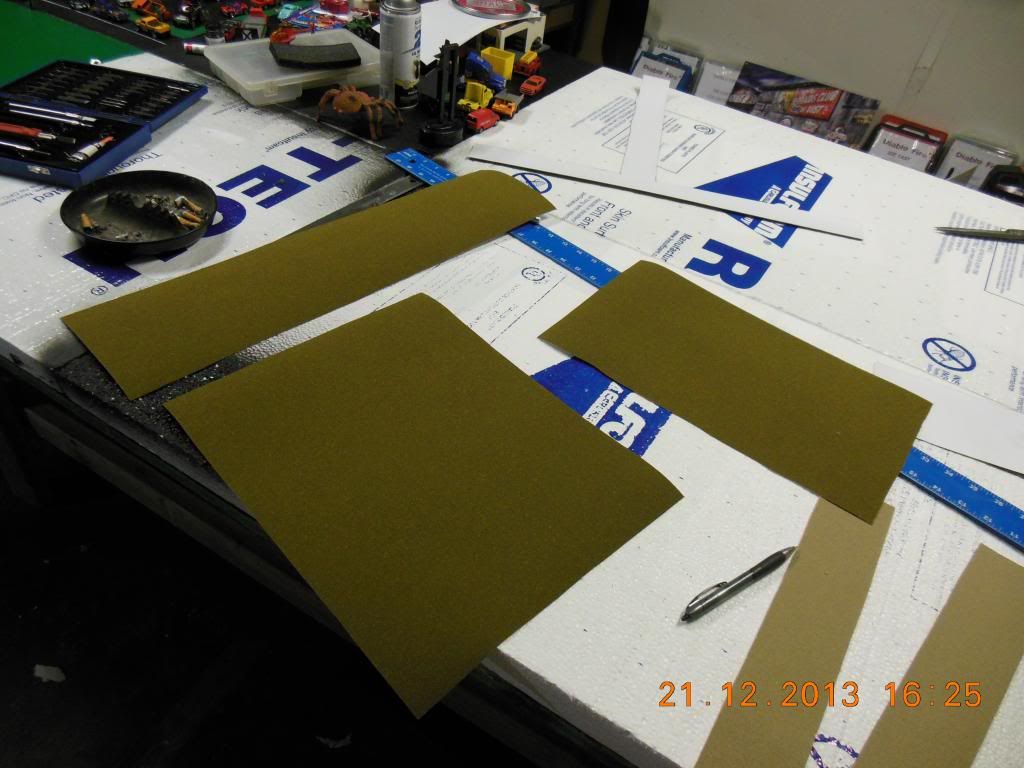 And here is the road that I cut out too. 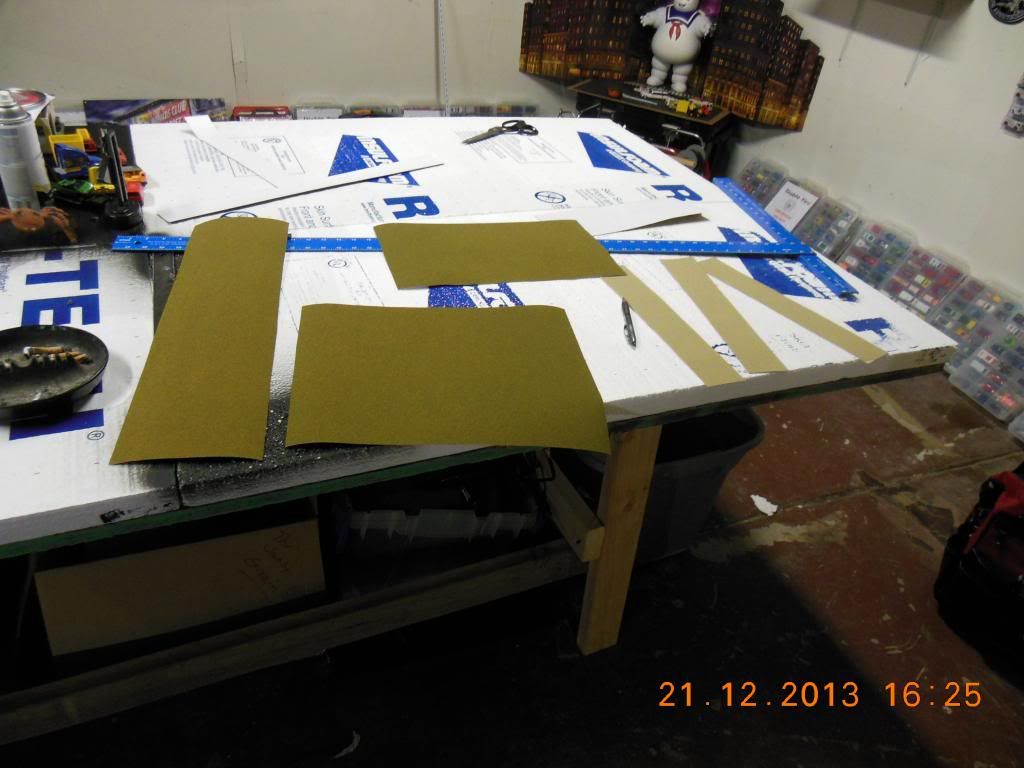 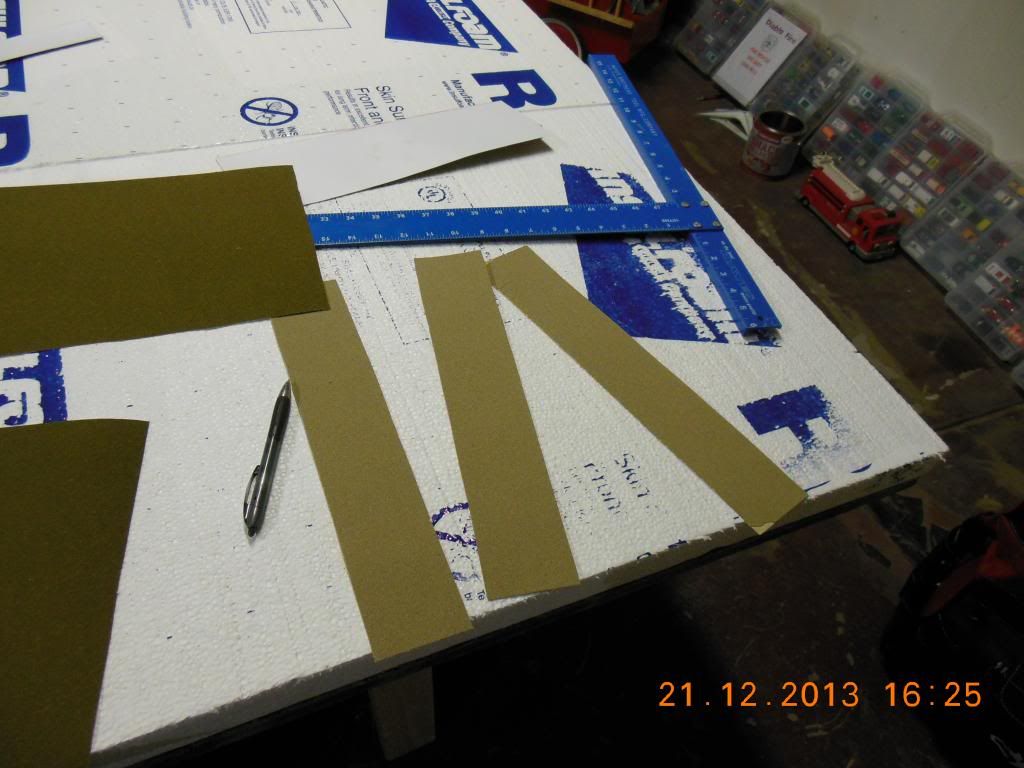 |
|
|
|
Post by Deleted on Dec 21, 2013 16:38:44 GMT -8
I carefully glued the road sections down and then added the campground area. 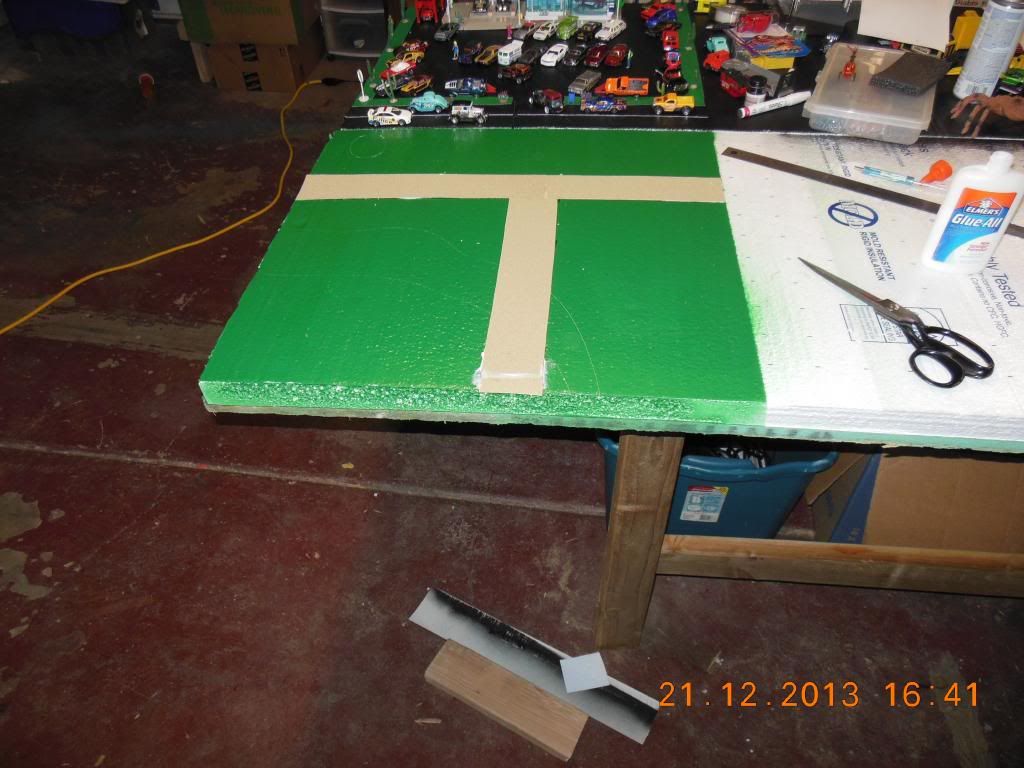 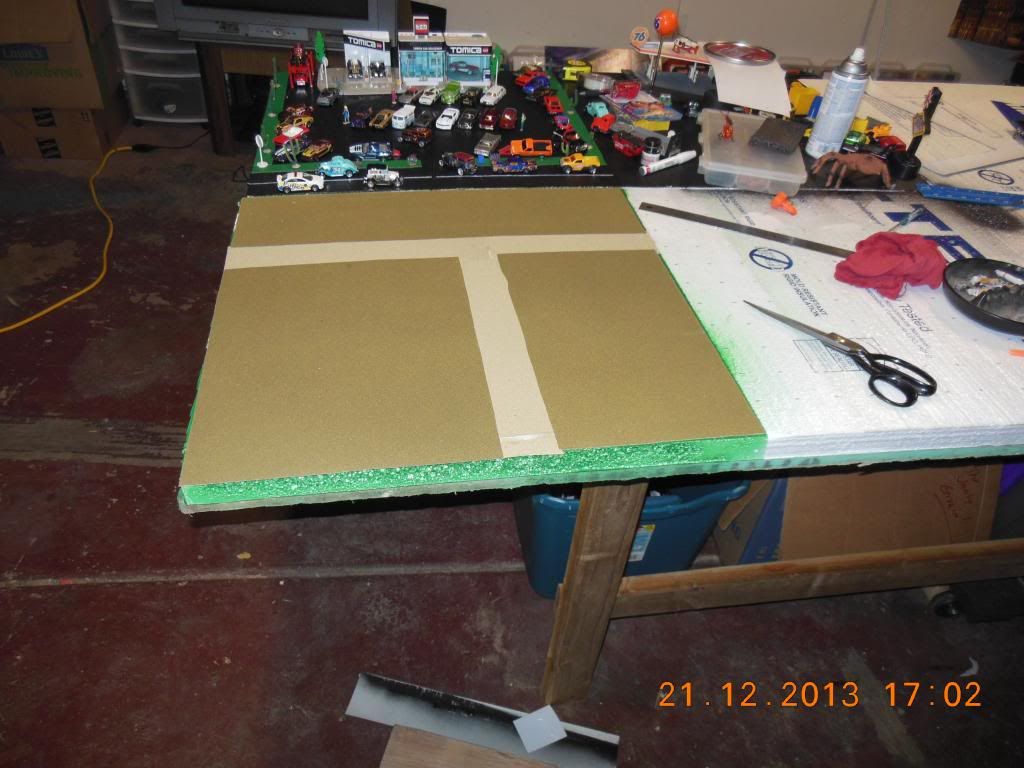 |
|
|
|
Post by Deleted on Dec 21, 2013 16:40:26 GMT -8
I just used Elmer'a Glue to glue it all down and a pair of scissors to cut everything. 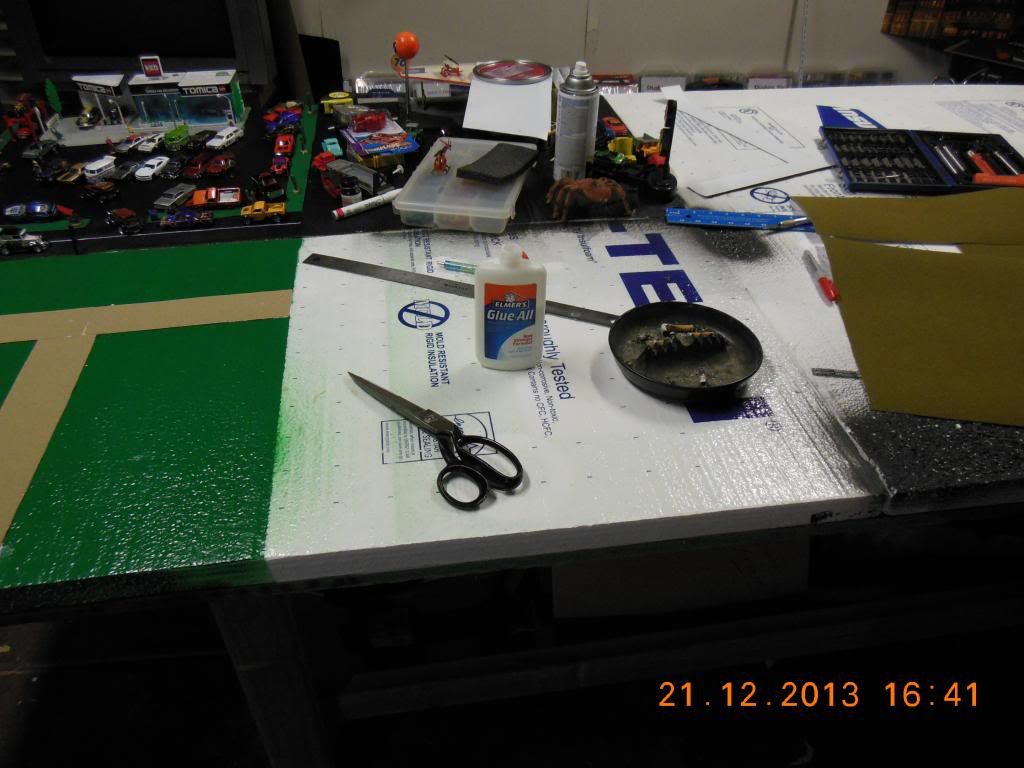 |
|
|
|
Post by Deleted on Dec 21, 2013 16:43:17 GMT -8
I also bought a pack of tree's to put in the campgrounds and i will carefully drill the holes for the tree's when I get home from work tom. 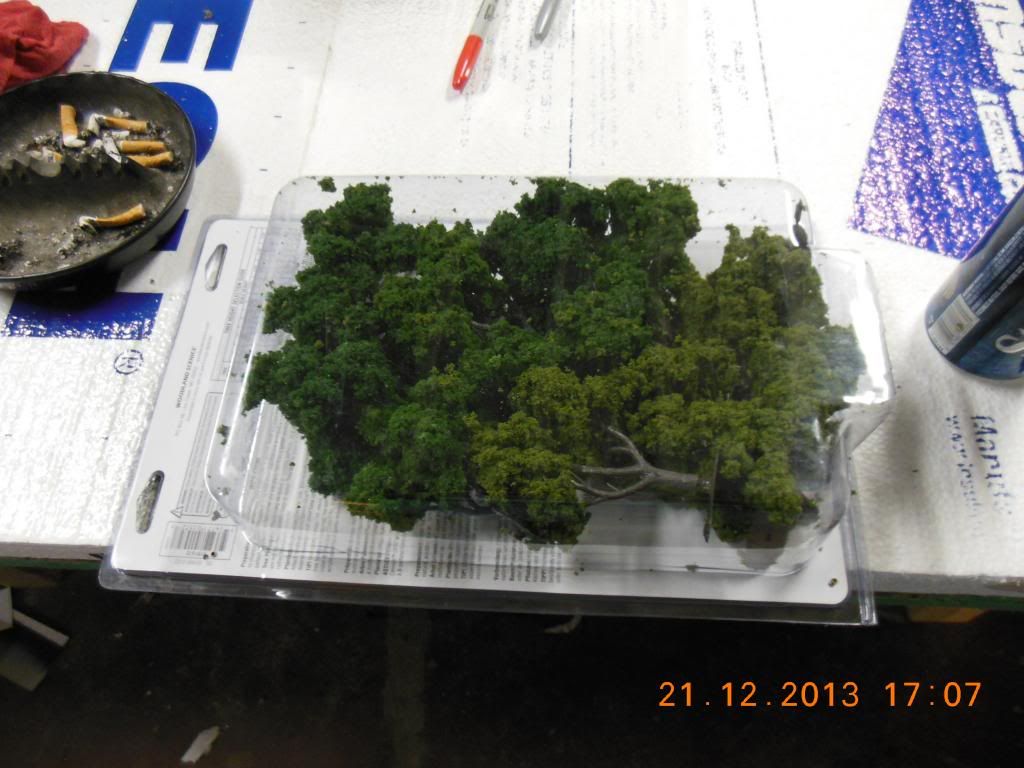 I am going to use some small rocks and pebbles for around the camp ground also and if i am able to get there in time on Tuesday I will see about a few more tree packs if I can. If not will do that on Thursday since I am off that day. I will post more pictures as I make progress on the display. |
|
|
|
Post by Deleted on Dec 24, 2013 17:46:40 GMT -8
Okay all here is what I have done on the campground thus far since my last post. I took this after I laid out where i wanted the tree's so they still have their bases on them. 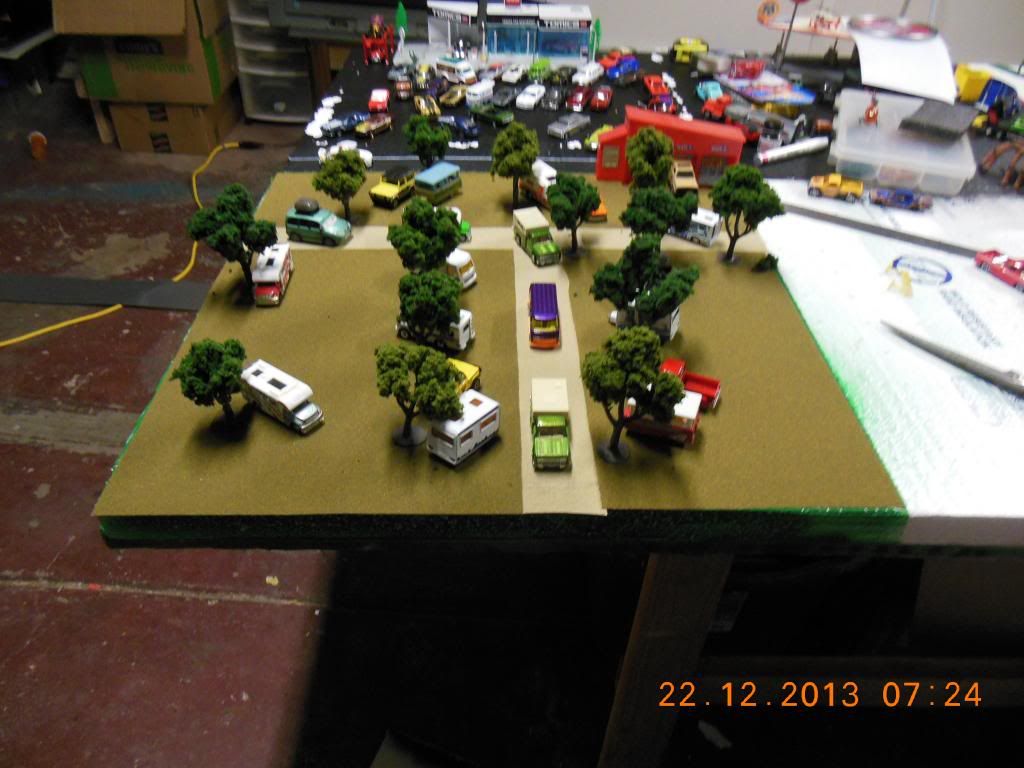 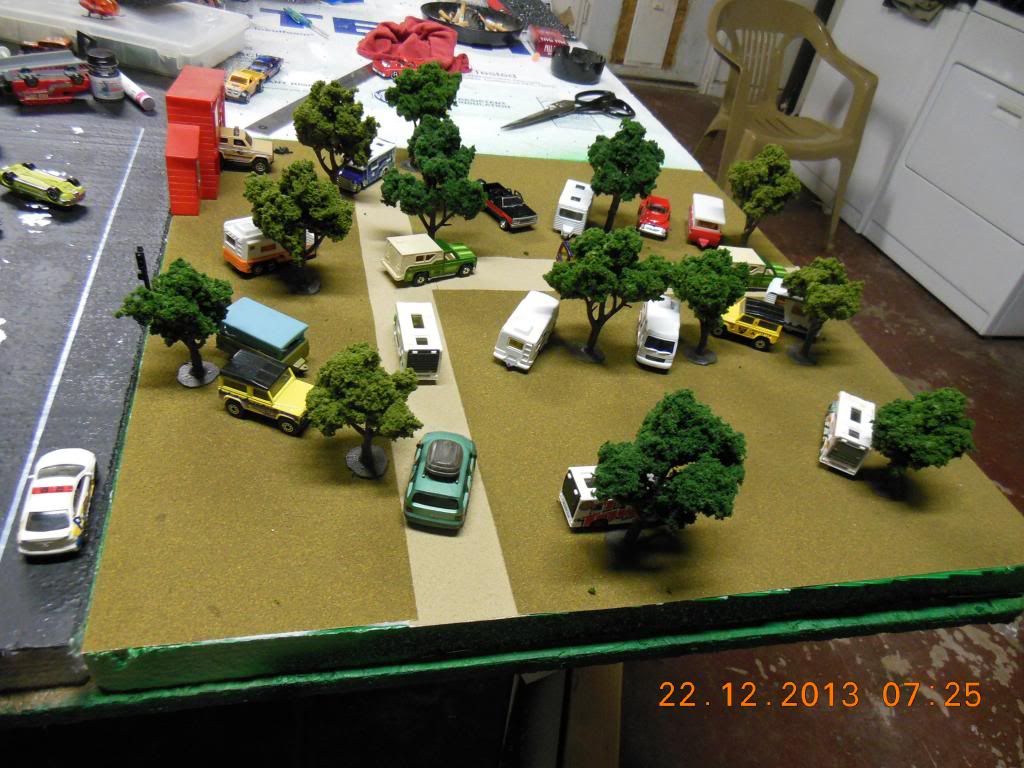 I took them off of their bases and made small enough holes that they sit upright with out the base 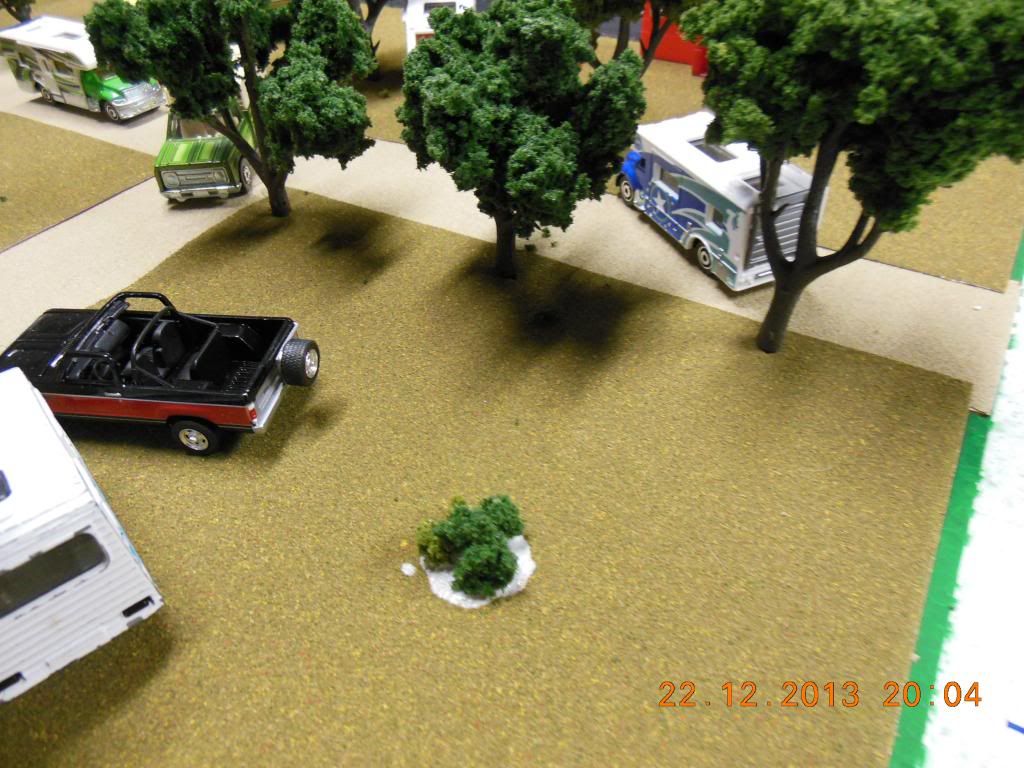 this is the tool I used to do it. 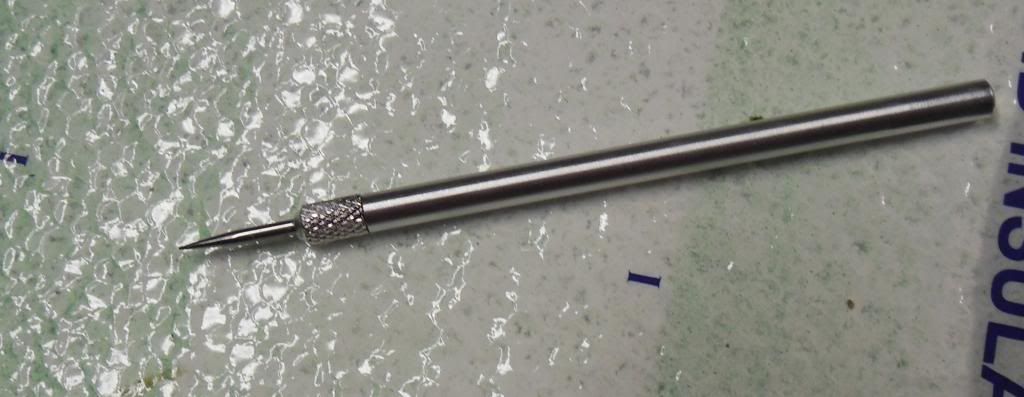 |
|
|
|
Post by Deleted on Dec 24, 2013 17:49:40 GMT -8
I went out and bought some Fish Tank rock and am going to be using that for several different things around the display. As a border for the display 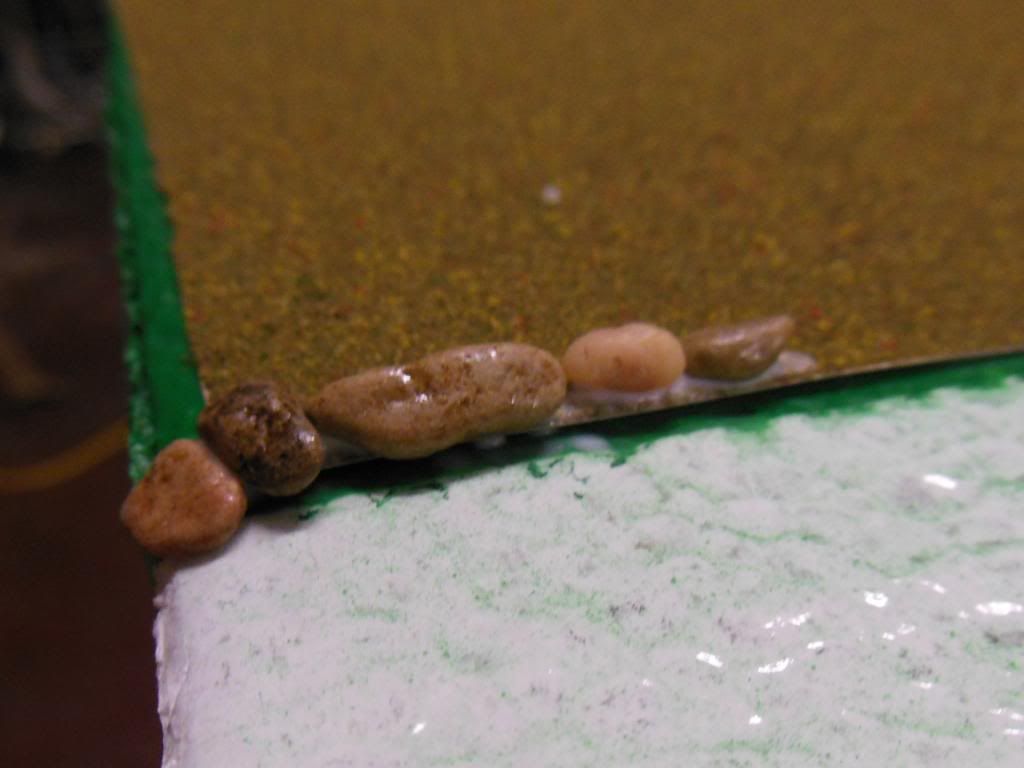 Around the two fire pits, I even added a couple logs by each fire pit. 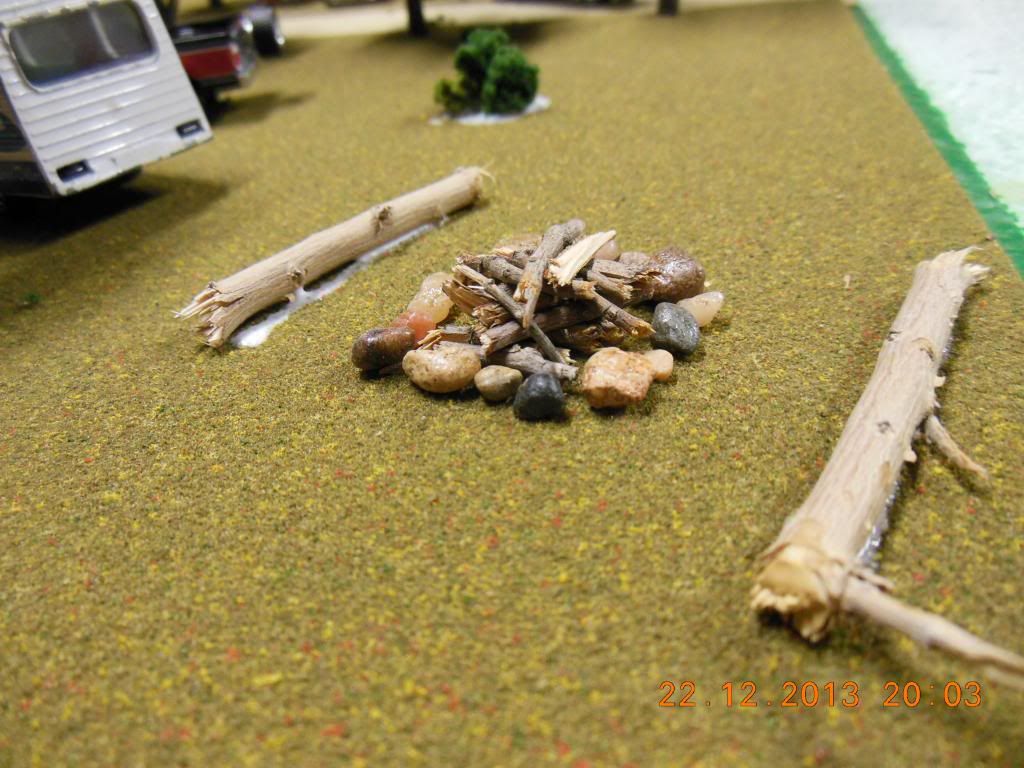 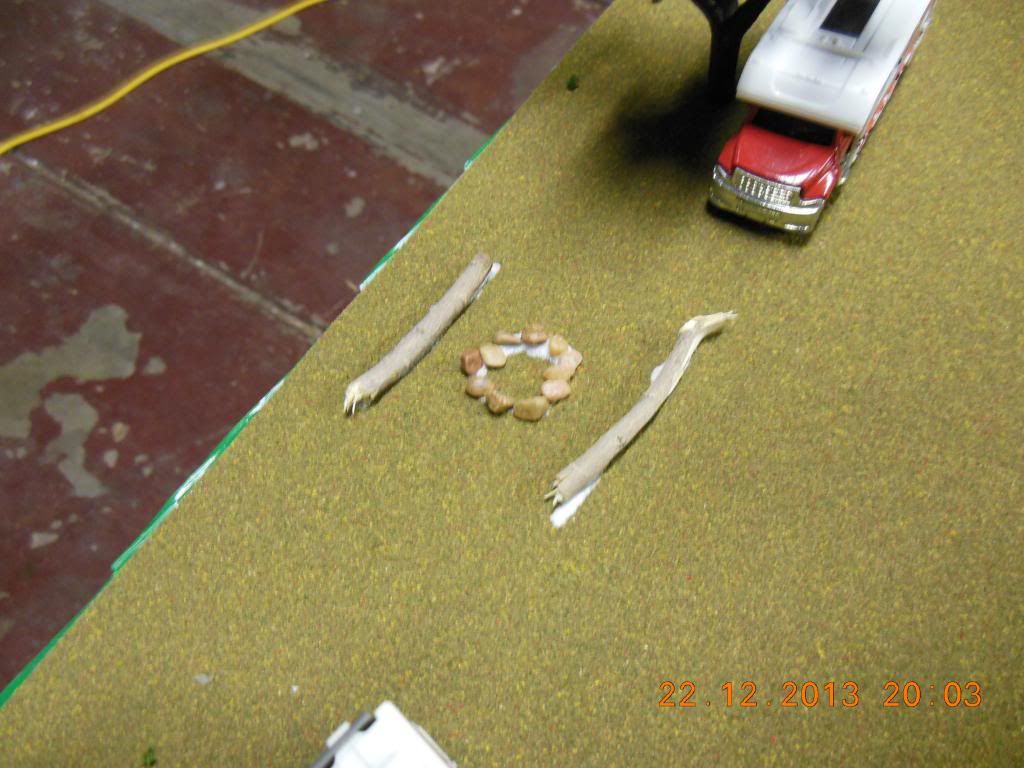 |
|
|
|
Post by Deleted on Dec 24, 2013 17:50:59 GMT -8
And the camp mascot Moejoe is ready to great all visitors. The red building is leaving the display. 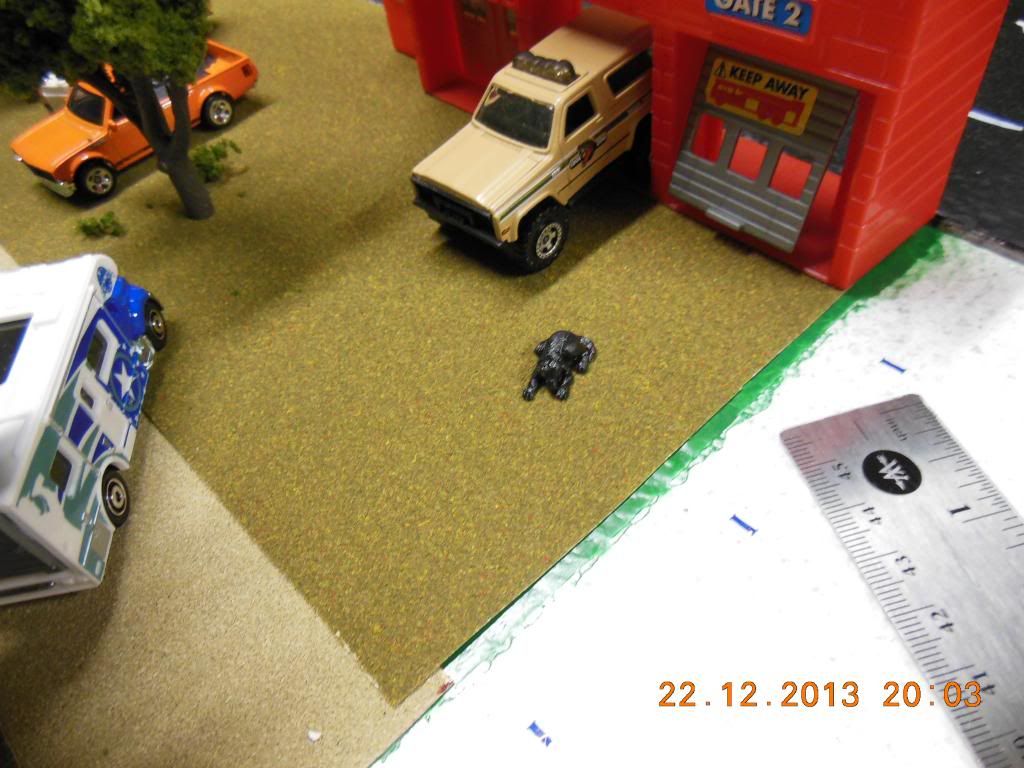 |
|
|
|
Post by Deleted on Dec 25, 2013 10:58:38 GMT -8
It's looking good Dave... Keep up the good work...  |
|
|
|
Post by Deleted on Dec 27, 2013 19:05:10 GMT -8
It's looking good Dave... Keep up the good work...  Hey Dan thanks I have made a few changes and some improvements to the campgrounds the past three days. I will post them later but I have also learned a few new things to do to the campgrounds. |
|
Carcollector
Novice Collector
 
Speed Limit: 935 
I collect:
Hot-Wheels
Matchbox
Auto World
Johny Lightning
various in 1/43 1/24 1/18
|
Post by Carcollector on Dec 28, 2013 1:59:15 GMT -8
Hi Dave, Great work y've done until now, looks really awesome  with that campground you gave me an idea..........  Patrick |
|
|
|
Post by Deleted on Dec 28, 2013 17:44:39 GMT -8
Hi Dave, Great work y've done until now, looks really awesome  with that campground you gave me an idea..........  Patrick Thanks Patrick when I finish with redoing the road I will post pictures of it. |
|
|
|
Post by Deleted on Dec 28, 2013 18:17:31 GMT -8
Hello all as I said earlier I made some changes to the roads of the Campground and added a sign and a playground. Here are the changes I made to the roads. I have done them with my first completely hand added texture using dark brown road ballast (railroad ballast that is), I choose this after talking with a few model railroaders who said that the textured ballast gives the roads a more realistic look. I had been looking at how the road looked and just was not satisfied. Here is a picture of what the road looked like before I made the change. 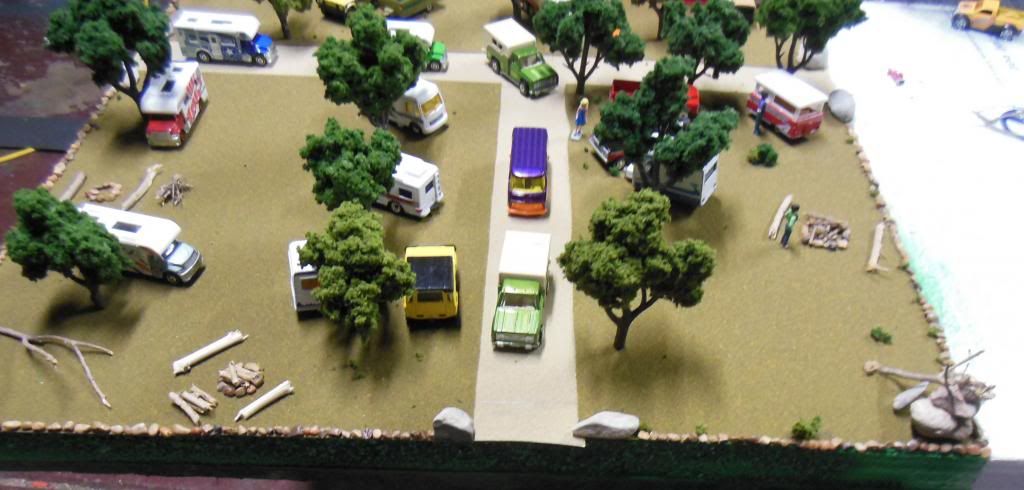 And here is the pictures of the road as I finished adding the texture. 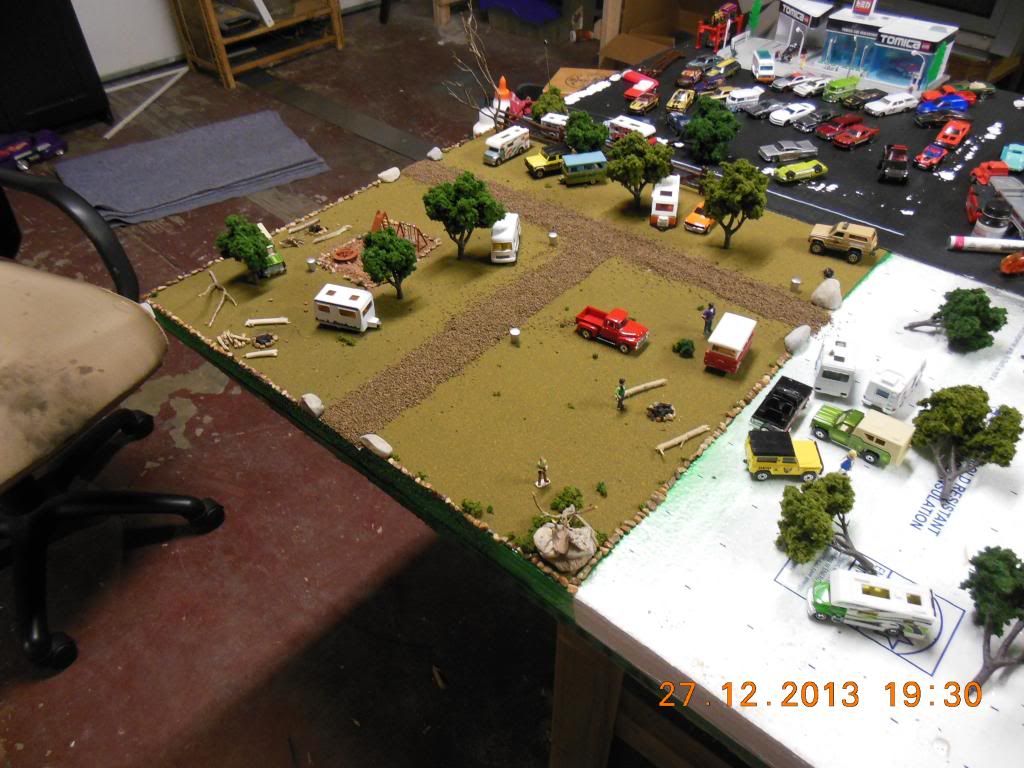 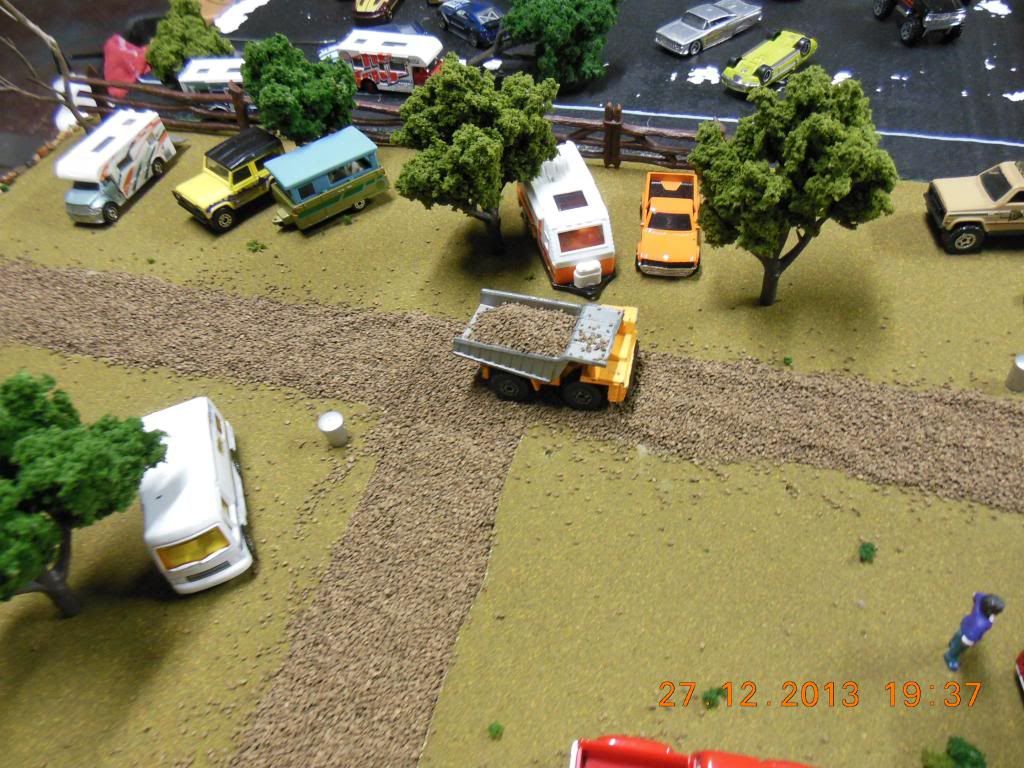  |
|
|
|
Post by Deleted on Dec 28, 2013 18:18:59 GMT -8
Here is how the roads turned out with the new material in place and cleaned up.   |
|
|
|
Post by Deleted on Dec 28, 2013 18:21:02 GMT -8
I also made a sign for the main entrance of the campgrounds. 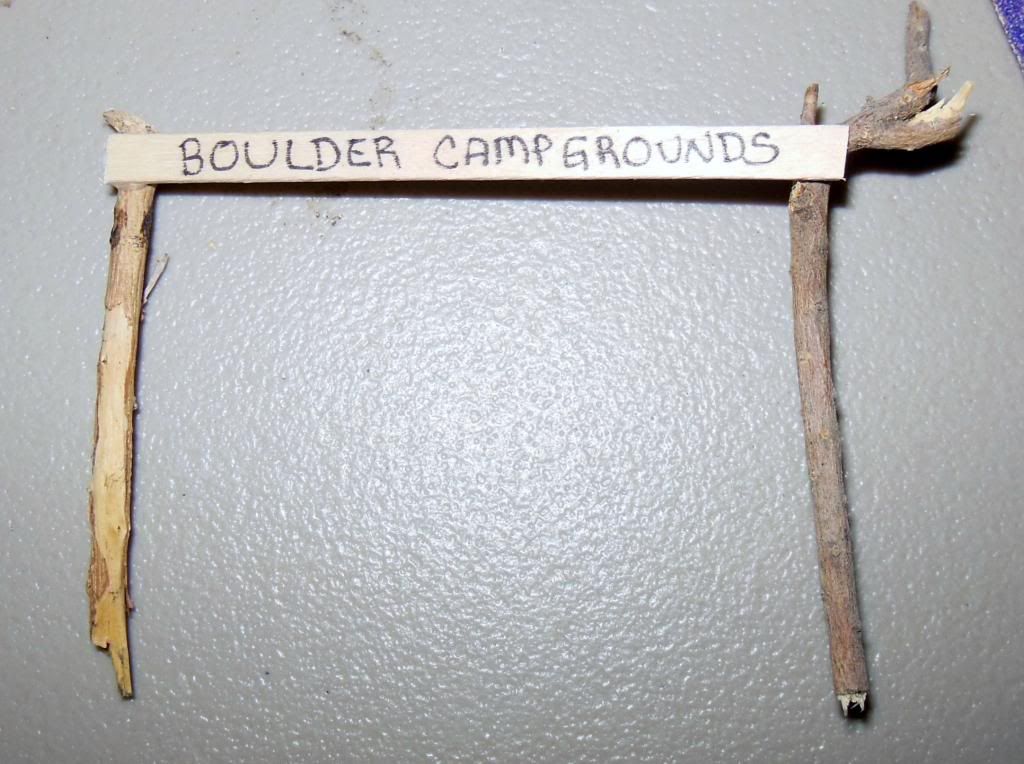 As I put the sign in place one side popped loose and that is why there is white elmer's glue on the "tree trunk"  |
|
|
|
Post by Deleted on Dec 28, 2013 18:44:18 GMT -8
i added a playground and got some red clay dirt from one of the parks to make it look different than the rest of the Campgrounds. 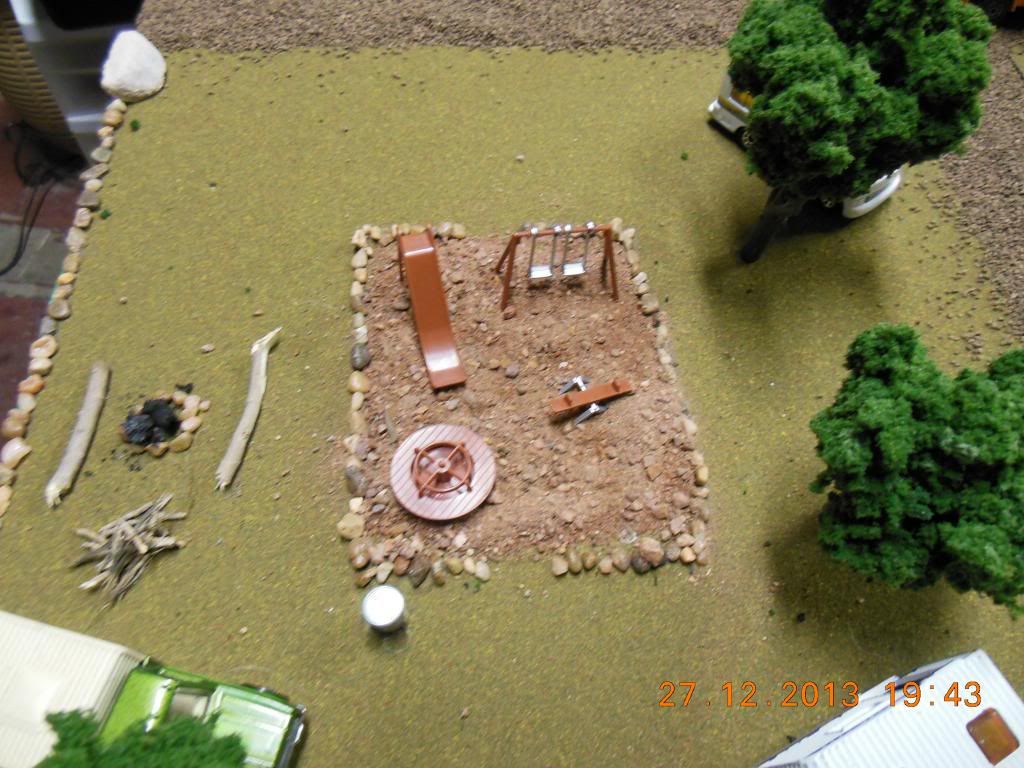 You can also see in the picture that I added some pieces of chard wood from the grill at home. We use real wood charcoal for cooking on the grill. |
|
|
|
Post by Deleted on Dec 28, 2013 18:45:07 GMT -8
I am just waiting on the rustic cabin and the swimming pool and one or two other small items. Any suggestions would be much appreciated.
|
|
|
|
Post by Deleted on Jan 12, 2014 15:29:29 GMT -8
Ok the rustic cabin finally showed up as did the swimming pool and the picnic tables. I painted the outer area of the pool a concrete color to make it look more in detail. 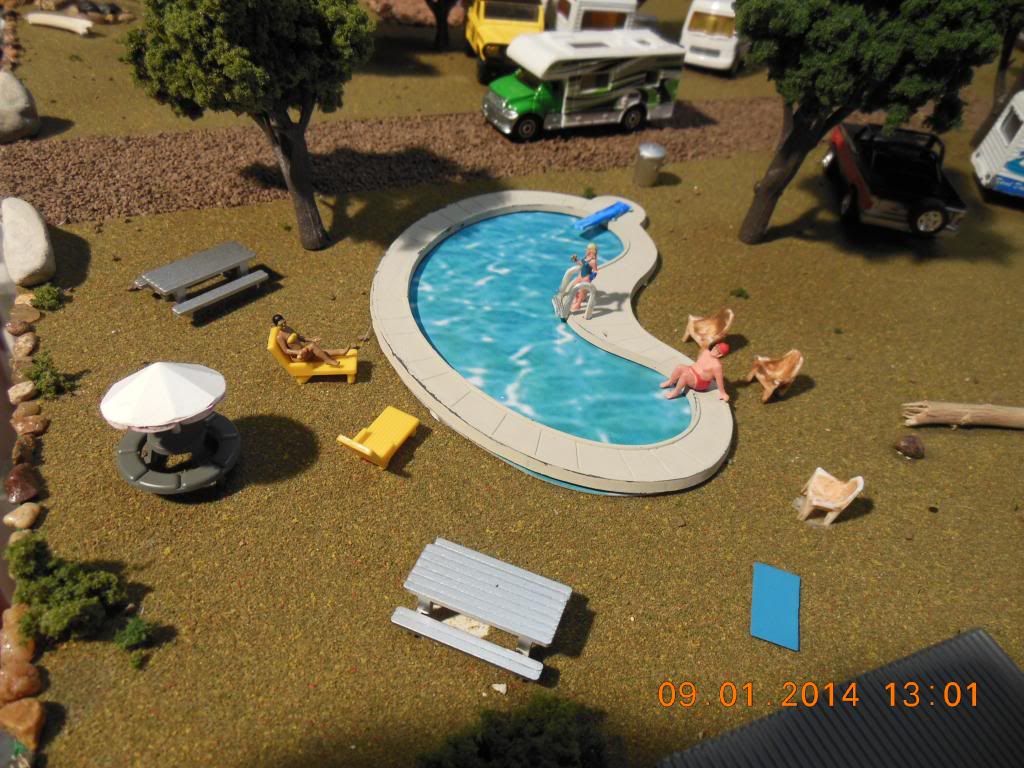 I also added a couple of shelters. 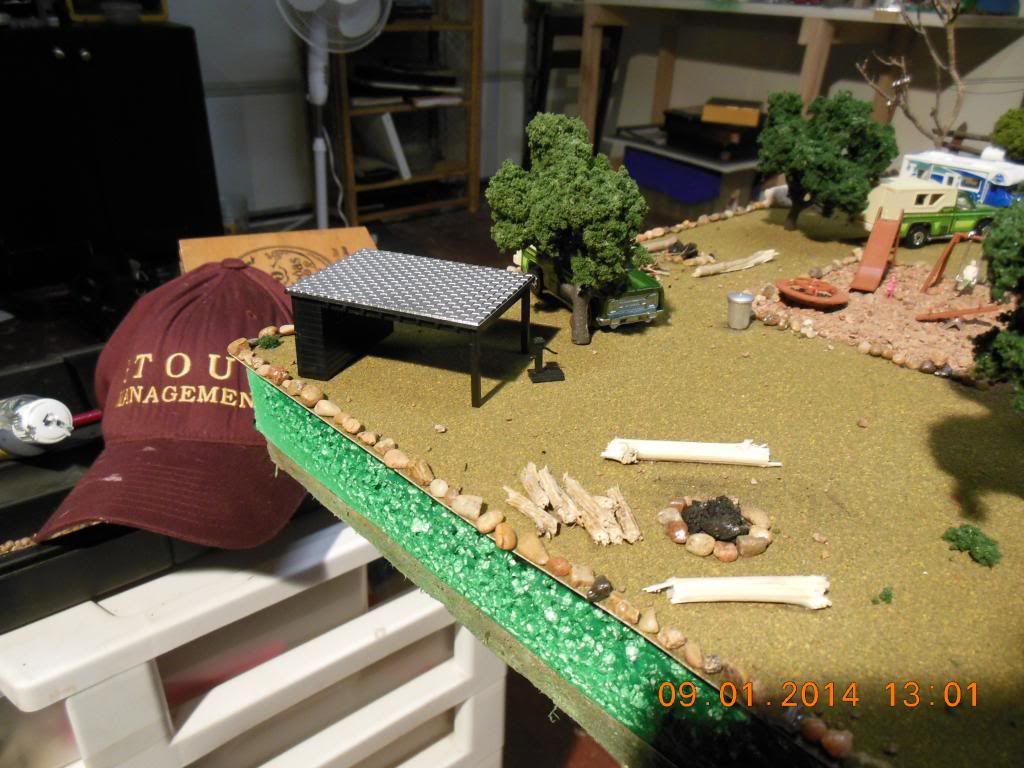 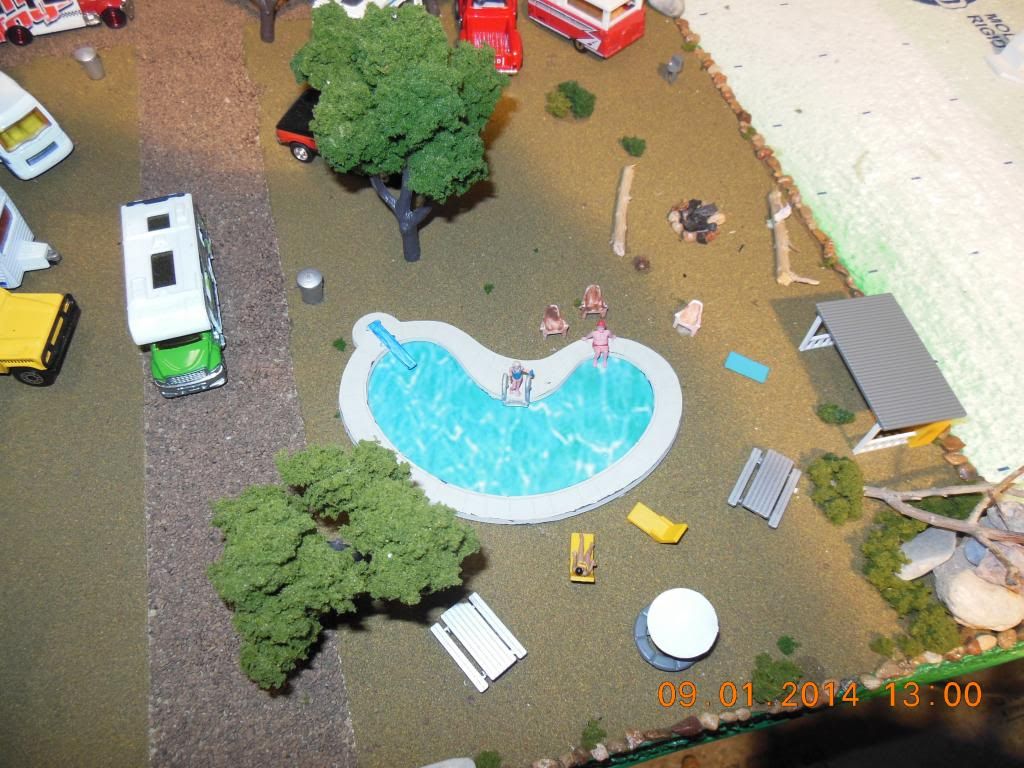 |
|
|
|
Post by Deleted on Jan 12, 2014 15:31:40 GMT -8
I also added black thread as power lines to the telephone poles that I put in. 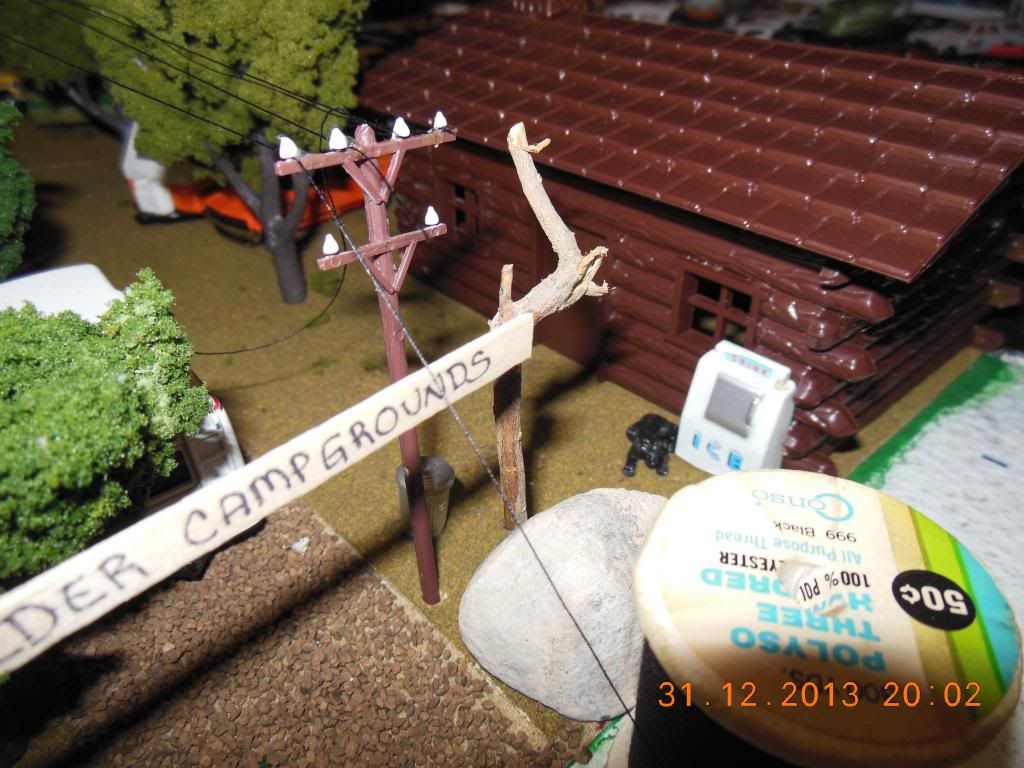 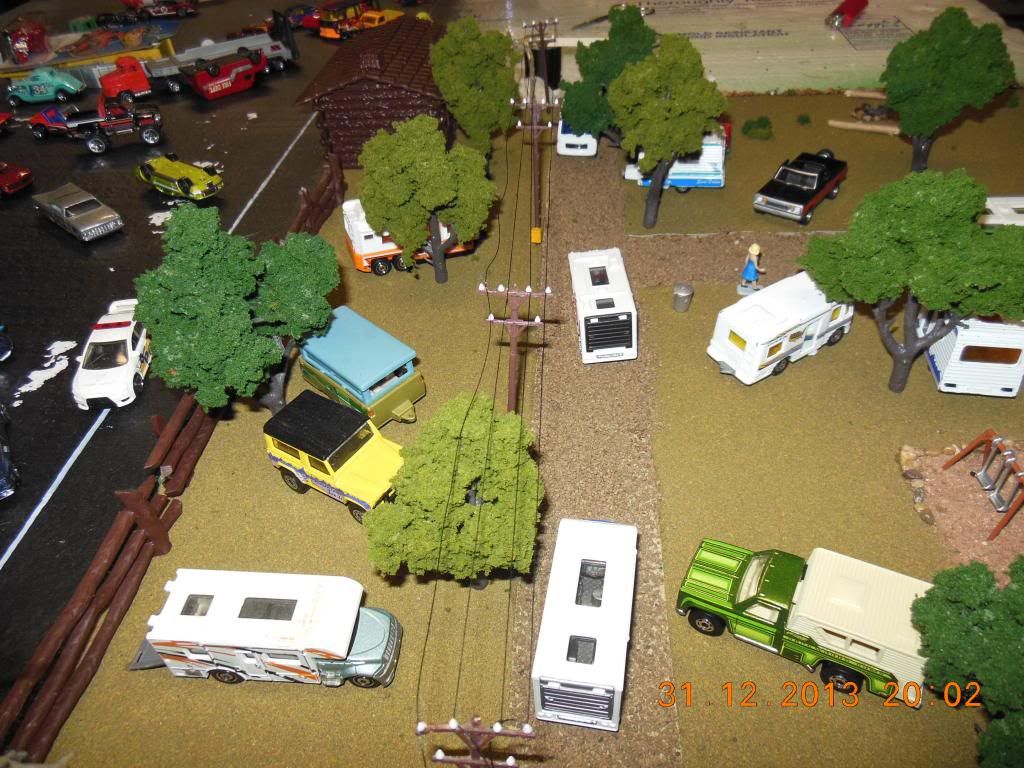 |
|
|
|
Post by Deleted on Jan 12, 2014 15:33:32 GMT -8
Here is the cabin that I used for the office along with a Ice Machine. You can also see the spool of thread that I used as the telephone wires. I plan on next time using t-stat or telephone wire and painting it black to see how it works. 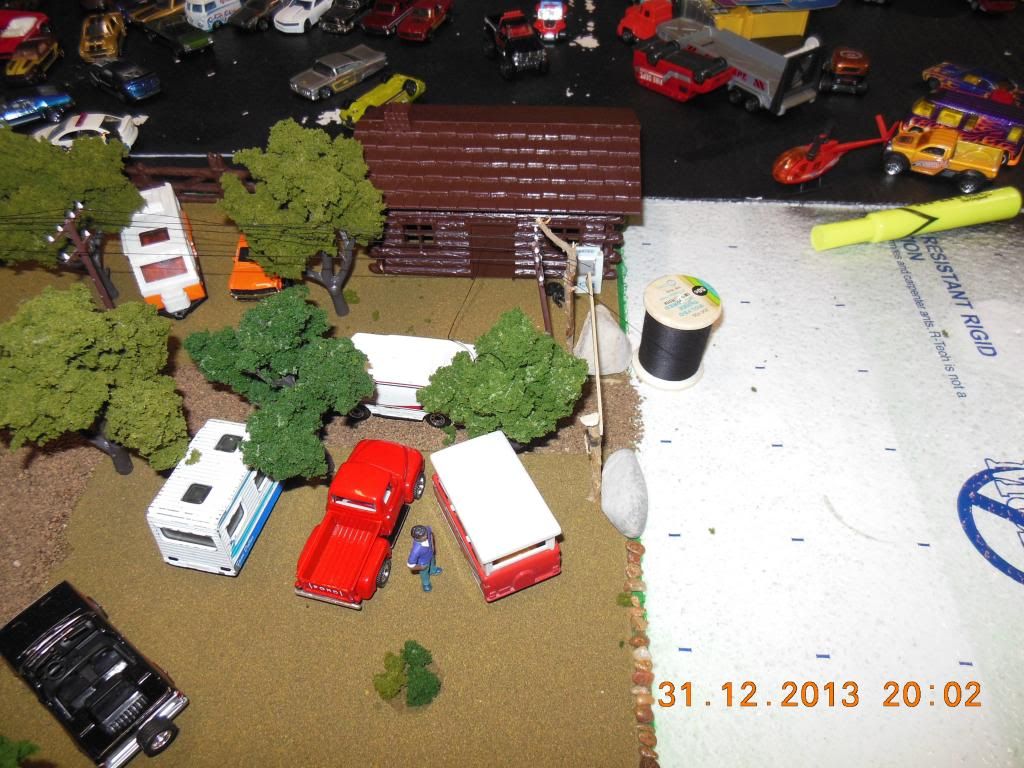 |
|
|
|
Post by 5thGenCamaro on Jan 12, 2014 18:03:49 GMT -8
Looks great.
|
|
|
|
Post by Deleted on Jan 13, 2014 14:21:02 GMT -8
Campground is coming along Dave...  .... Guests, playground, pool and it even has power for them RV hookups  |
|
|
|
Post by Deleted on Jan 25, 2014 7:04:40 GMT -8
Hey thanks Dan. I have to add a few more people to it and then it will be finished. I am currently working on a different car dealership a route 66 type of display and a whole new garage display. I just finished putting down the "floor" for the garage display (done with drywall mud and have to sand it a little)
|
|
Carcollector
Novice Collector
 
Speed Limit: 935 
I collect:
Hot-Wheels
Matchbox
Auto World
Johny Lightning
various in 1/43 1/24 1/18
|
Post by Carcollector on Jan 26, 2014 14:18:17 GMT -8
Hi Dave, I like it very much, it's getting better and better, you've good ideas about detailling it , Congrats  Patrick |
|
Shell
Pro Collector
   Chevy Girl
Speed Limit: 1,330
I collect:
M2's
HW TH's
Sledsters
|
Post by Shell on Jan 26, 2014 17:32:19 GMT -8
Looks good Dave, and you gave Patrick an idea on top of it.  Can't wait to see Patrick's idea. |
|
|
|
Post by Deleted on Jan 28, 2014 19:36:00 GMT -8
Looks good Dave, and you gave Patrick an idea on top of it.  Can't wait to see Patrick's idea. Neither can I Shell. I will finish adding the people and then post some final pictures of the Campgrounds in the next few days. I want to say to everybody I really appreciate all of the positive comments and the suggestions. I also want to apologize for my lack of participation and posts. I was promoted back to Supervisor at work and with the complex I work at, almost 400 units, it is a lot of work. I end up working in the morning and I end up working at night. Last night I was at the Emergency Room with one of my guys that got hurt till 9 pm and did not get home till almost 10 pm. Don't get me wrong I love it but the complex has been neglected for years and it is my job to get almost a hundred units turned and to clear up almost 60 pending work orders. Even my weekends do not pan out. In another month or two things should be back to normal. Thank you once again all and have a great night. |
|
|
|
Post by Deleted on Feb 17, 2014 6:14:44 GMT -8
Well all the Campground is finally finished. I added that last couple of touches yesterday and now am going to concentrate on the other ones. While at the Hot Wheels Collectors Get Together yesterday I found this play set and like a lot of us that do scenes and dioramas I split it apart for the figures and props. 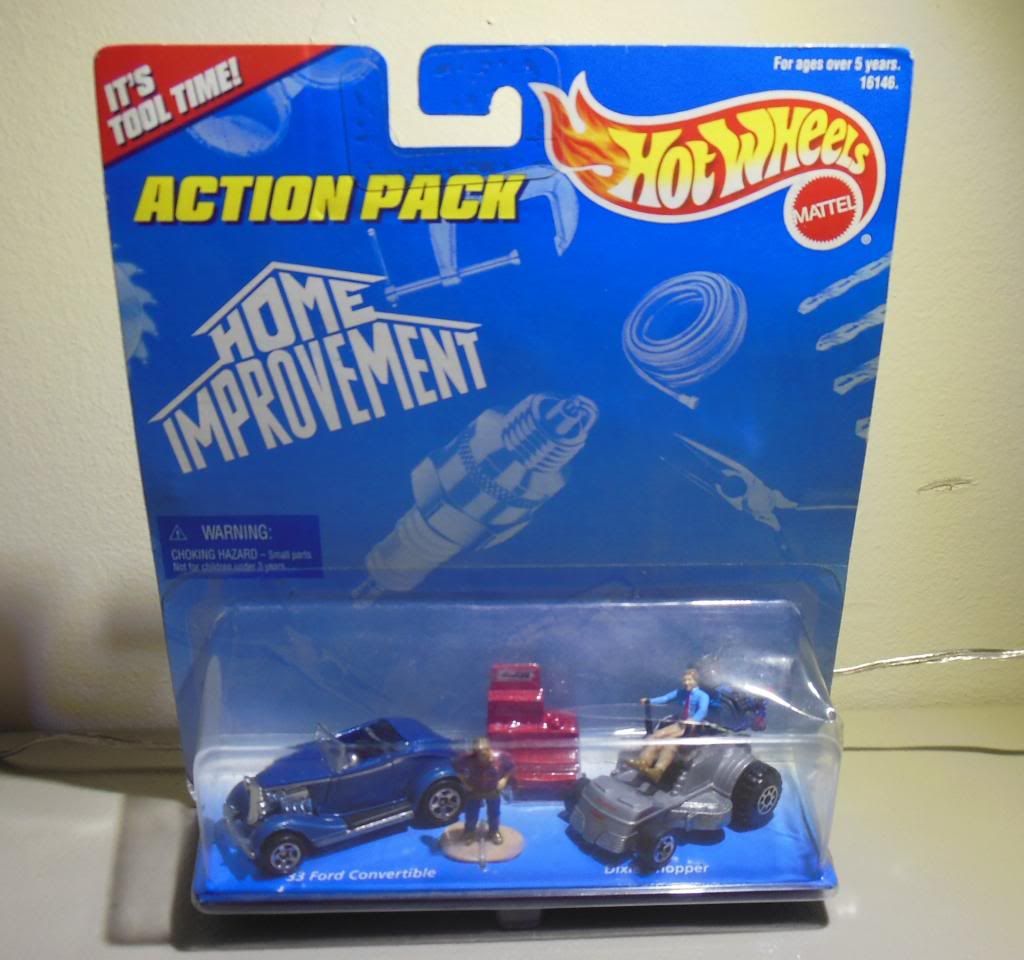 I brought Tim and Al out of retirement and hired them as my maintenance crew for the campgrounds. Mowing the lawn has never been easier. 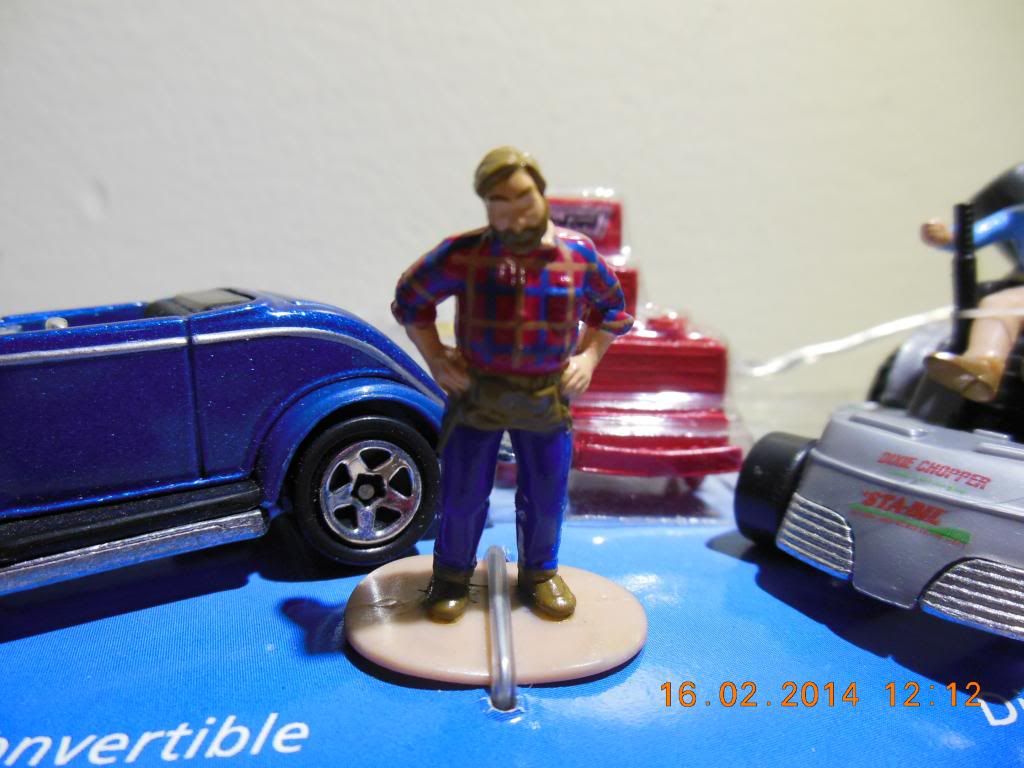 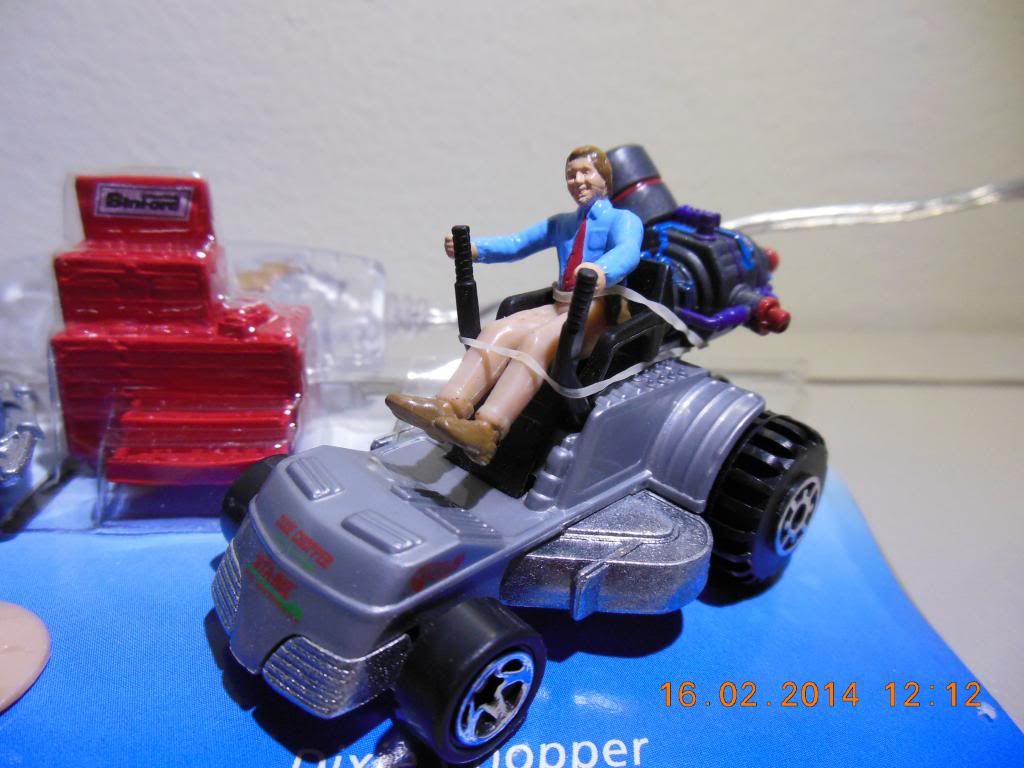 |
|
|
|
Post by Deleted on Feb 17, 2014 6:17:02 GMT -8
Here Al is making sure that the fire pits are properly handled. 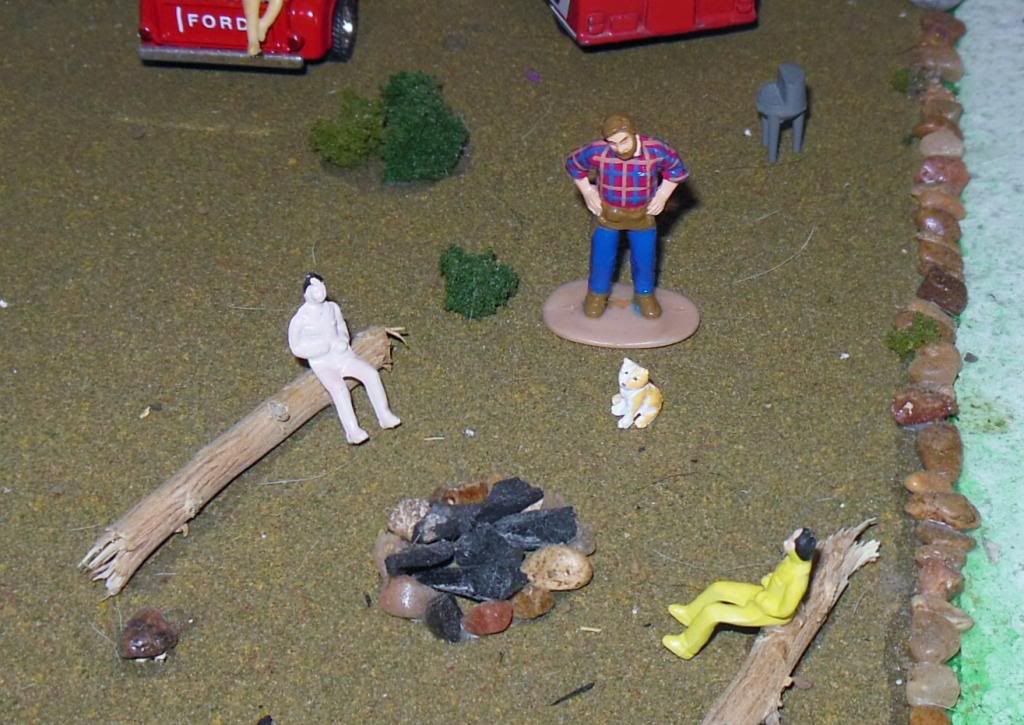 And Tim is heading out with the lawn tractor to start cutting the grass. 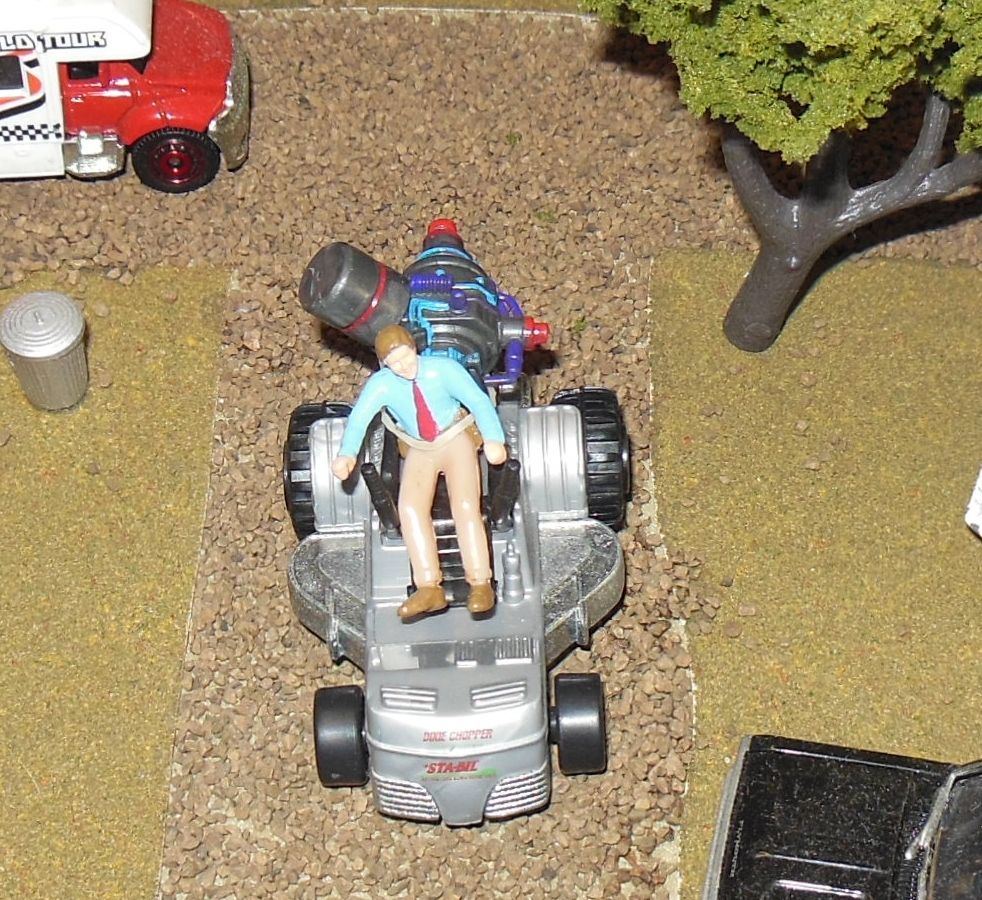 And finally an overview of the campgrounds as I get ready to start working on the next diorama. 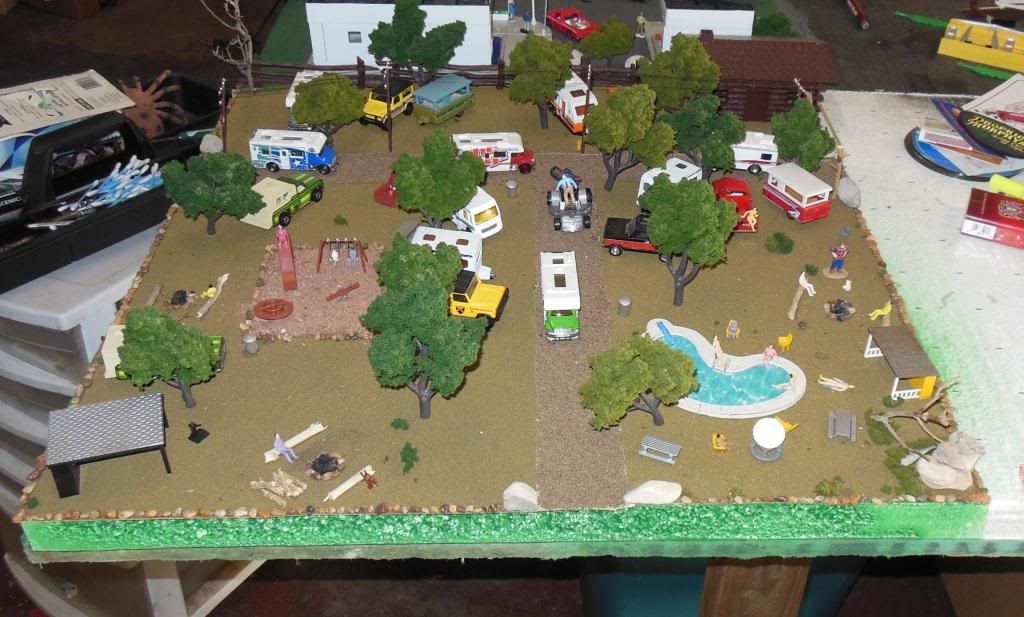 Hey thanks for all the comments and for viewing this diorama. |
|
|
|
Post by 5thGenCamaro on Feb 17, 2014 13:48:15 GMT -8
Great work, looks awesome.  |
|